Removing badges from your car can give it a cleaner, more streamlined look. Whether you’re looking to debadge for aesthetic reasons or to prepare for a new emblem, the process is straightforward with the right tools and techniques. Here’s a comprehensive guide by Macdetailz, your trusted car detailing experts in Ottawa, Ontario.
Tools You’ll Need:
– Hairdryer or heat gun
– Plastic trim removal tool or fishing line
– Adhesive remover
– Microfiber cloth
– Car wax
– Bucket and car-safe soap
– Soft sponge or wash mitt
– Detailing spray (optional)
Step-by-Step Guide:
- Clean the Area
Before you start, wash the area around the badge with a car-safe soap to remove any dirt and debris. This prevents scratches during the removal process. Fill a bucket with water and add the soap, then use a soft sponge or wash mitt to gently clean the area. Rinse thoroughly and dry with a microfiber cloth. - Heat the Badge
Use a hairdryer or heat gun to warm up the badge. This softens the adhesive, making it easier to remove. Hold the heat source a few inches away from the badge and move it around to evenly distribute the heat. Be careful not to overheat the area, as excessive heat can damage the paint. - Remove the Badge
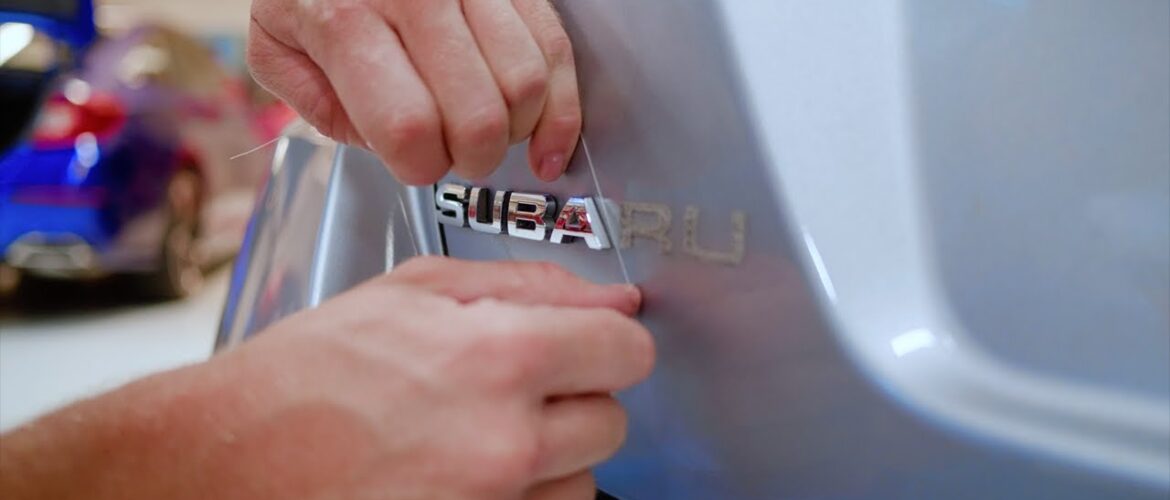
Once the adhesive is warm, use a plastic trim removal tool or fishing line to gently pry the badge off. If using fishing line, slide it behind the badge and use a sawing motion to cut through the adhesive. Start from one end and work your way to the other, applying steady pressure to avoid scratching the paint. - Remove Residual Adhesive
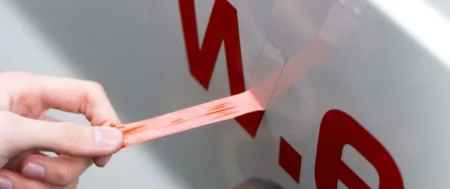
After the badge is off, there will likely be some adhesive residue left on the car. Apply an adhesive remover to a microfiber cloth and gently rub the area until the residue is gone. You may need to apply the remover several times to fully dissolve the adhesive. Be patient and avoid using abrasive materials that could damage the paint. - Clean and Wax the Area
Once the adhesive is removed, clean the area again with soap and water. Dry it with a microfiber cloth and apply a layer of car wax to protect the paint and give it a polished look. Use a clean, soft cloth to apply the wax in circular motions, then buff it off with another clean cloth. For an extra shine, you can use a detailing spray after waxing.
Tips for a Professional Finish:
Patience is Key: Take your time to avoid damaging the paint. Rushing the process can lead to scratches or uneven removal.
Use Quality Products: Invest in good adhesive remover and car wax for the best results. High-quality products are more effective and safer for your car’s finish.
Seek Professional Help: If you’re unsure about the process, consider visiting a professional car detailing service in Ottawa like Macdetailz for expert assistance. Professionals have the experience and tools to ensure a flawless finish.
Additional Considerations:
Weather Conditions: Perform the badge removal in a shaded area or garage to avoid direct sunlight, which can cause the adhesive to harden quickly.
Badge Placement: If you plan to replace the badge with a new one, make sure to measure and mark the placement accurately before applying the new emblem.
Safety Precautions: Wear gloves to protect your hands from the adhesive remover and other chemicals. Ensure good ventilation if working indoors.
By following these steps, you can successfully remove badges from your car, giving it a sleek, badge-free appearance. For more car detailing tips and services in Ottawa, Ontario, trust Macdetailz to keep your vehicle looking its best. Whether it’s a simple debadging or a full detailing service, Macdetailz has you covered with professional expertise and top-notch customer service.


